Installing Office Online Server on Windows 2012 R2 Server
Introduction
FileCloud can integrate with an on-premises Office Online server installation to edit Office documents (word, excel and powerpoint) from a browser. The following guide explains how to install office online server on Windows 2012 server.
First Steps
- Connect the windows server where you be installing office online server to an active directory domain.
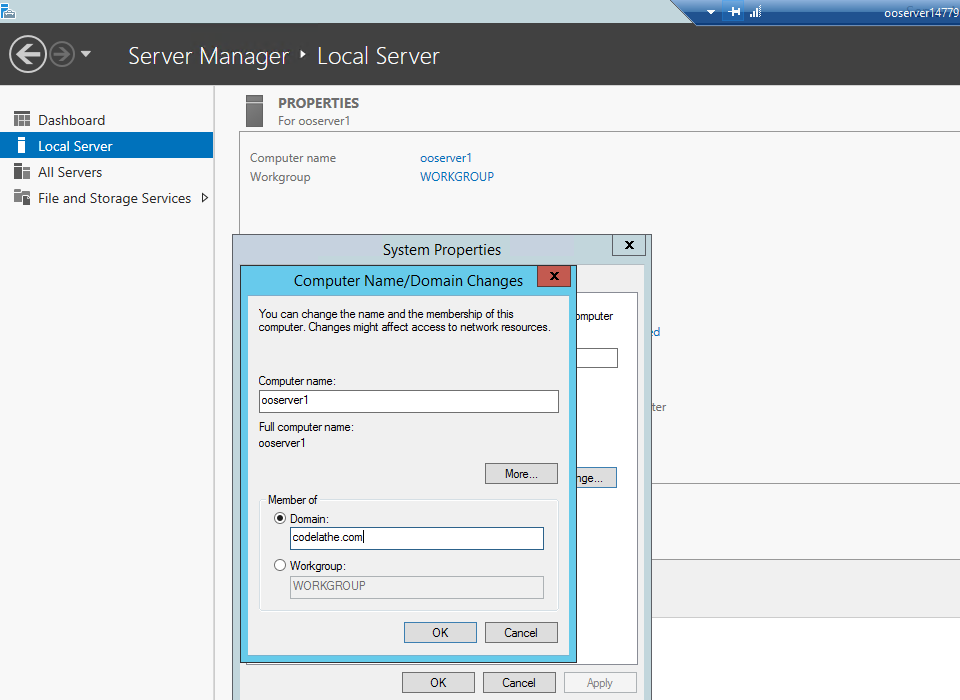
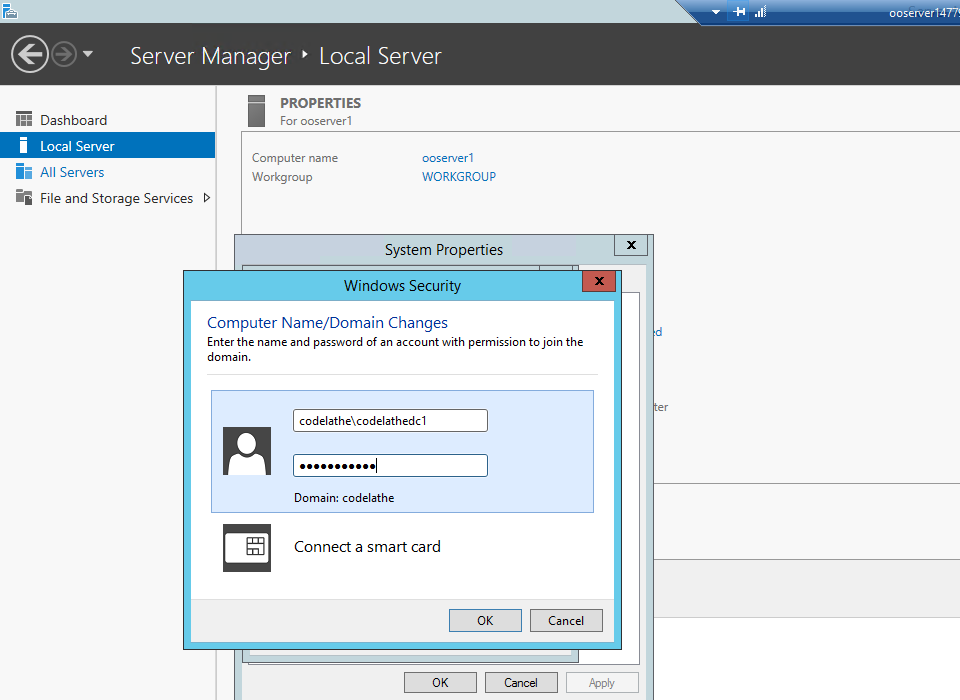
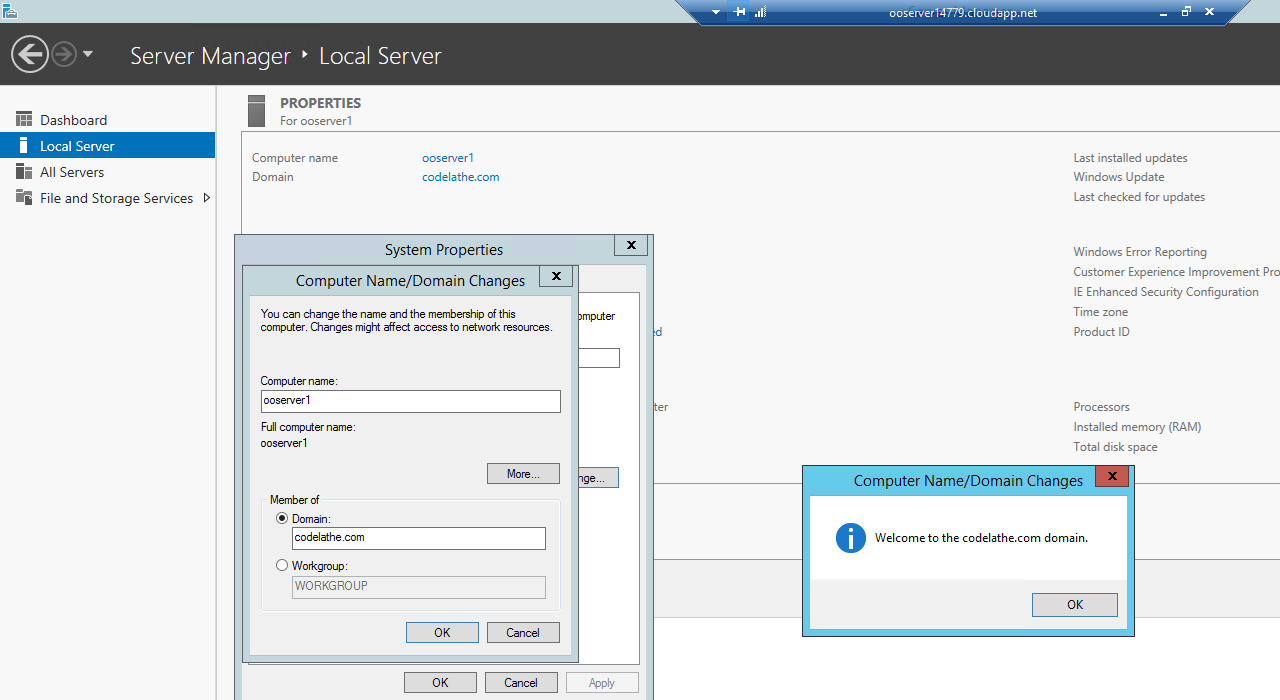
- Restart the server to apply the changes.
- Install all available windows updates and restart the server if prompted.
- Open the Windows PowerShell prompt as an administrator and run the following command to install the required roles and services. After the installation restart the server.
Add-WindowsFeature Web-Server,Web-Mgmt-Tools,Web-Mgmt-Console,Web-WebServer,Web-Common-Http,Web-Default-Doc,Web-Static-Content,Web-Performance,Web-Stat-Compression,Web-Dyn-Compression,Web-Security,Web-Filtering,Web-Windows-Auth,Web-App-Dev,Web-Net-Ext45,Web-Asp-Net45,Web-ISAPI-Ext,Web-ISAPI-Filter,Web-Includes,InkandHandwritingServices,NET-Framework-Features,NET-Framework-Core,NET-HTTP-Activation,NET-Non-HTTP-Activ,NET-WCF-HTTP-Activation45
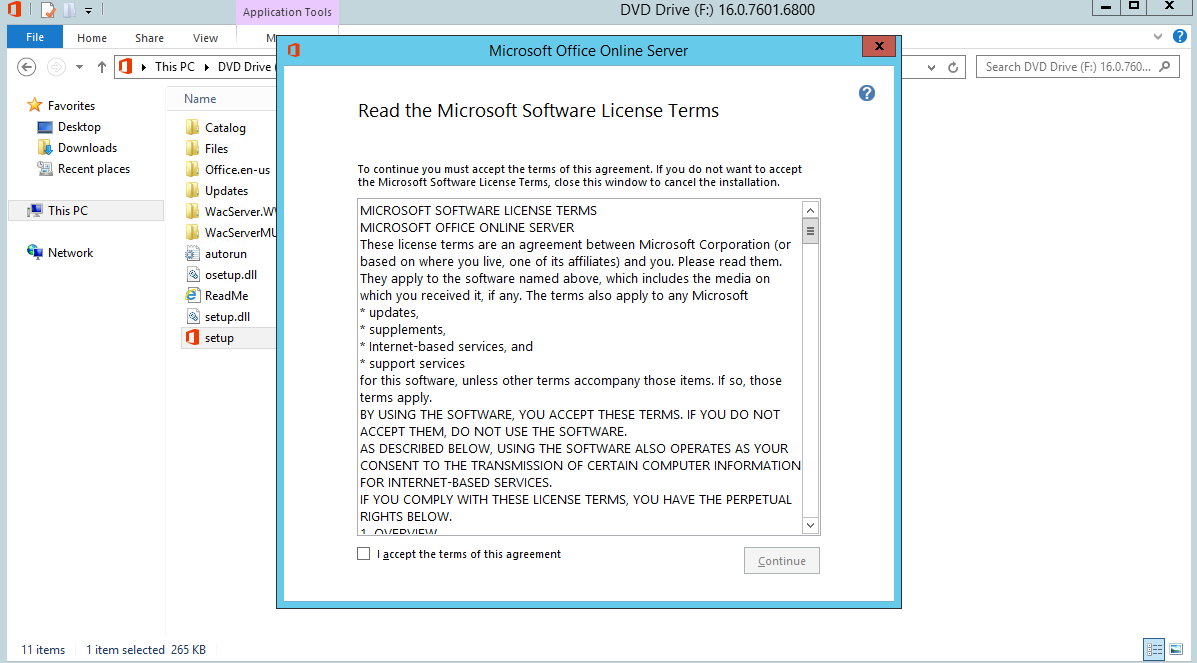
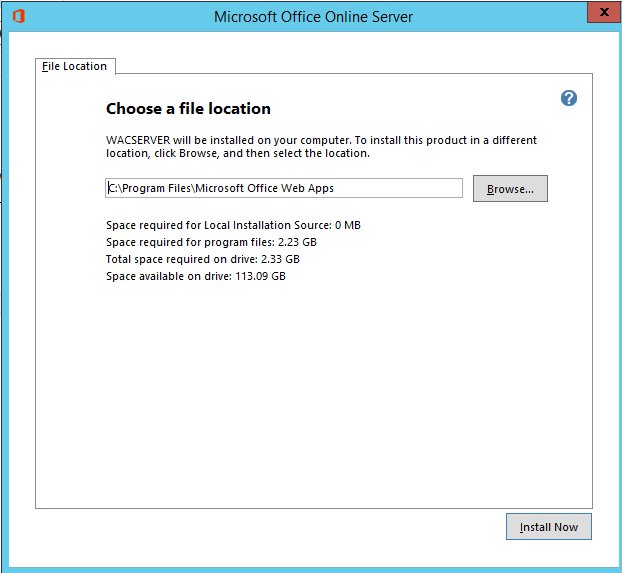
Download Office Online Server from the Volume License Service Center. Go to the location where you downloaded Office Online Server and run setup.exe.
Open the Windows PowerShell prompt as an administrator and run the following command to Import the OfficeWebApps powershell module.
import-module “C:\Program Files\Microsoft Office Web Apps\AdminModule\OfficeWebApps\OfficeWebApps.psd1”
Note: Windows powershell for Office Online Server provide offers powershell cmdlets to create and manage Office Web Apps. You can find complete reference document here: https://technet.microsoft.com/en-us/library/jj219436.aspx
Deploy as single-server Office Online Server farm that uses HTTP
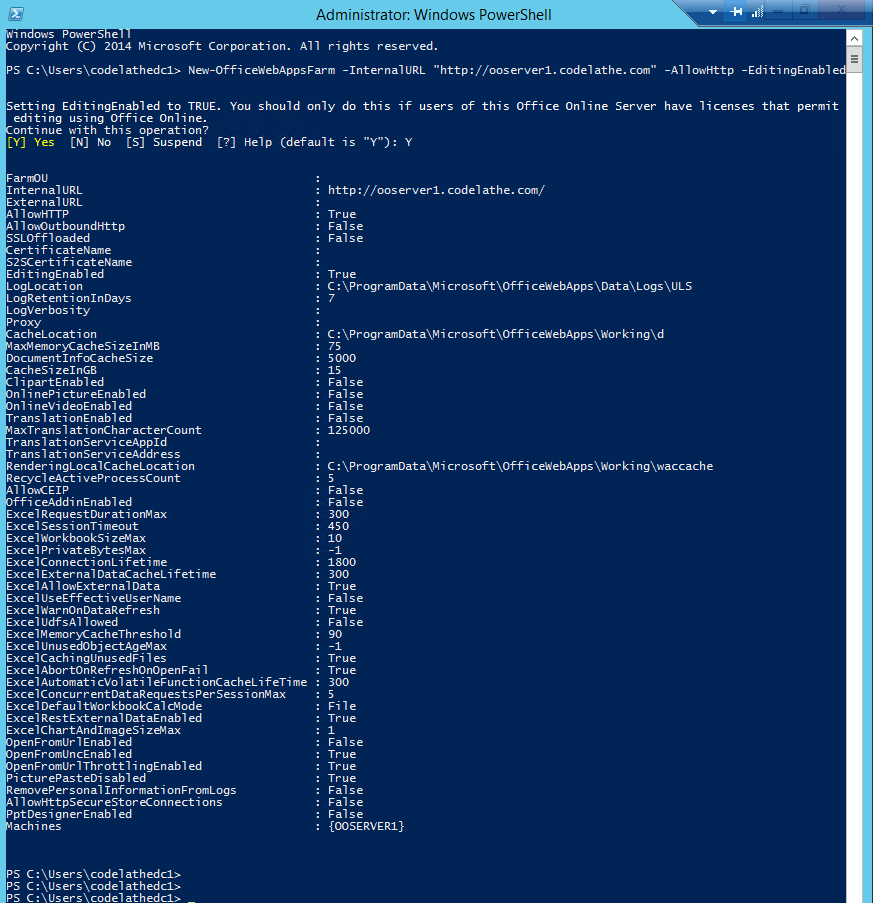
Open the Windows PowerShell prompt as an administrator and run the New-OfficeWebAppsFarm command to create a new Office Online Server farm that consists of a single server, as shown in the following example. This example creates an Office Online Server farm on the local server that has editing enabled as well as http access.
You need to login as the Domain Administrator to run the New-OfficeWebAppsFarm cmdlet. Local administrator account is not sufficient. Make sure you replace the URL with your domain names.
New-OfficeWebAppsFarm -InternalUrl "http://ooserver.internal.contoso.com" -ExternalUrl "http://oos.contoso.com" -AllowHttp -EditingEnabled
Parameters
–InternalURL is the name of the server that runs Office Online Server
- –ExternalURL Specifies the URL that clients use to access the Office Online Server from the Internet
–AllowHttp configures the farm to use HTTP.
–EditingEnabled enables editing in Office Online Server when used with FileCloud.
Additional parameters that configure translation services, proxy servers, ClipArt support, and Online Viewers are described in New-OfficeWebAppsFarm.
Verify that Office Online Server Farm was created successfully. After the farm is created, details about the farm are displayed in the Windows PowerShell prompt like given below. To verify that Office Online Server is installed and configured correctly, use a web browser to access the Office Online Server discovery URL, as shown in the following example. The discovery URL is the InternalUrl parameter you specified when you configured your Office Online Server farm, followed by /hosting/discovery, for example: http://oos.yourdomain.com/hosting/discovery
Deploy as single-server Office Online Server farm that uses HTTPS
- Obtain and import an SSL certificate with the fully qualified domain name(s) (FQDN) of the Office Online Server server. You only need to configure one FQDN on the certificate. For example, oos.contoso.com. If you have different internal and external FQDNs, you'll need to configure both FQDNs on the certificate. For example, oos.internal.contoso.com and oos.contoso.com.
- Configure DNS records to point the FQDN(s) on the certificate to your Office Online Server server. If you have different DNS servers for internal and external users, you'll need to configure the appropriate FQDN on each server.
- Open Windows PowerShell and run the following commands. When you run the commands, replace the example FQDNs and certificate friendly name with your own.
Same internal and external FQD
New-OfficeWebAppsFarm -InternalURL "https://oos.contoso.com" -ExternalURL "https://oos.contoso.com" -CertificateName "OfficeOnlineCertificate"
Different internal and external FQDNsNew-OfficeWebAppsFarm -InternalURL "https://oos.internal.contoso.com" -ExternalURL "https://oos.contoso.com" -CertificateName "OfficeOnlineCertificate"
It is possible to use the wildcard ssl certificate. You need to import the ssl certificate to you certificate store.
Troubleshooting Tips
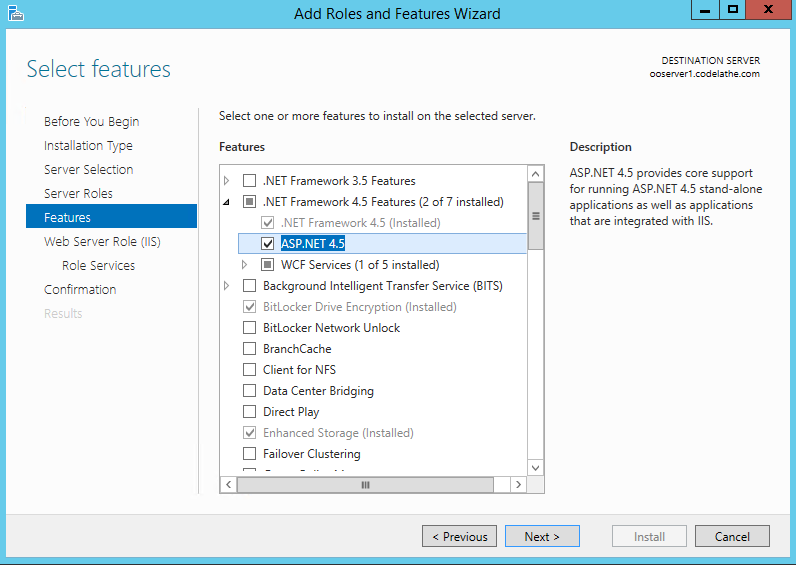
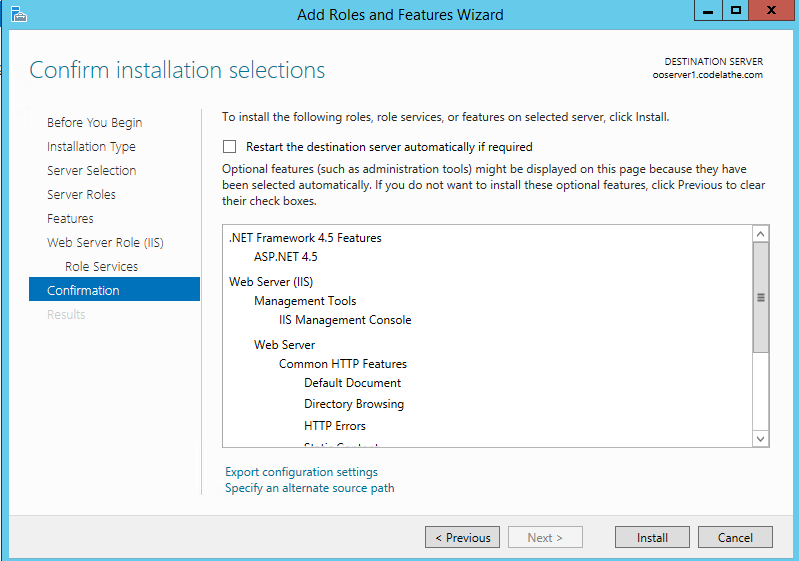
If you receive an error during the setup, You need to enable web server role and ASP.NET 45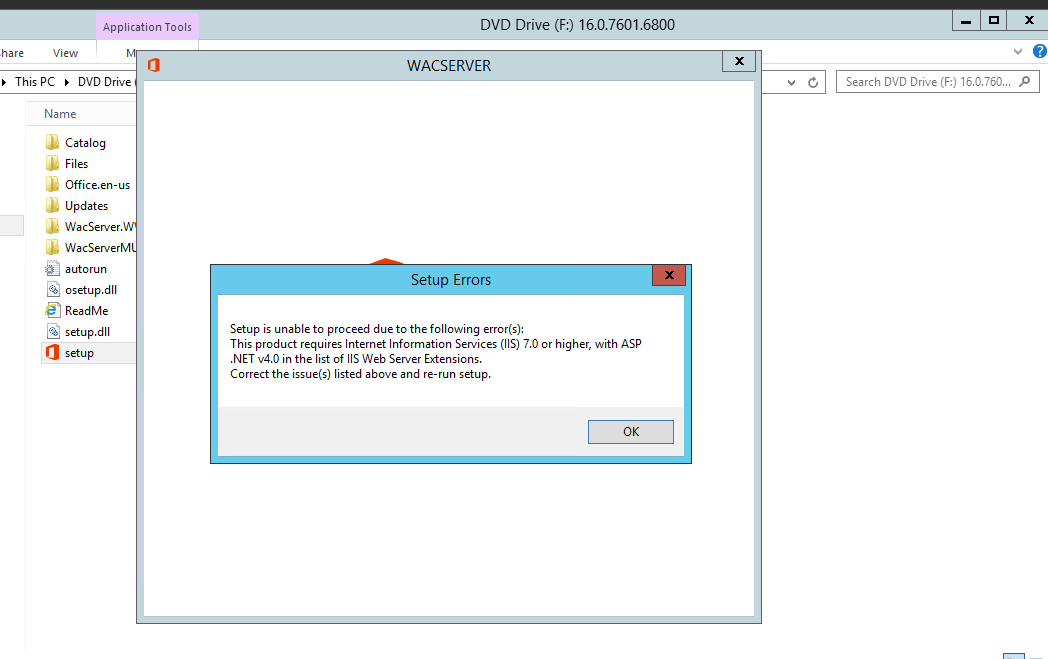
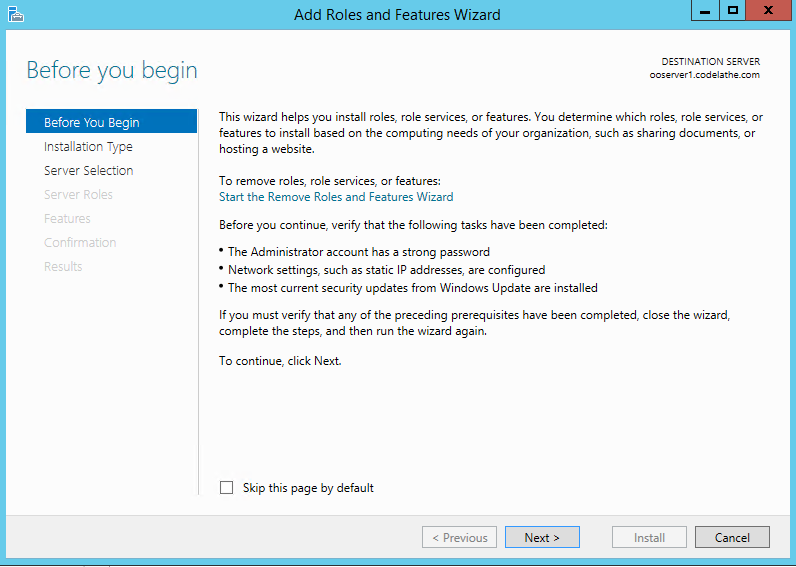
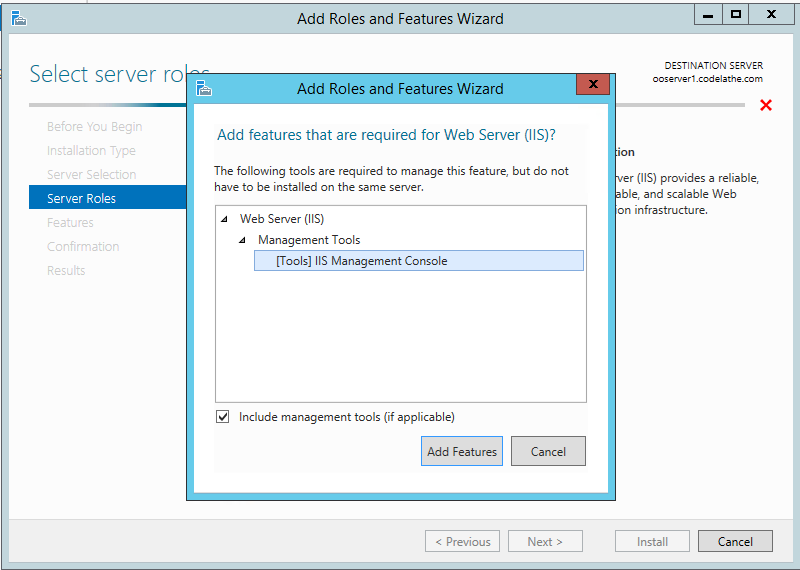
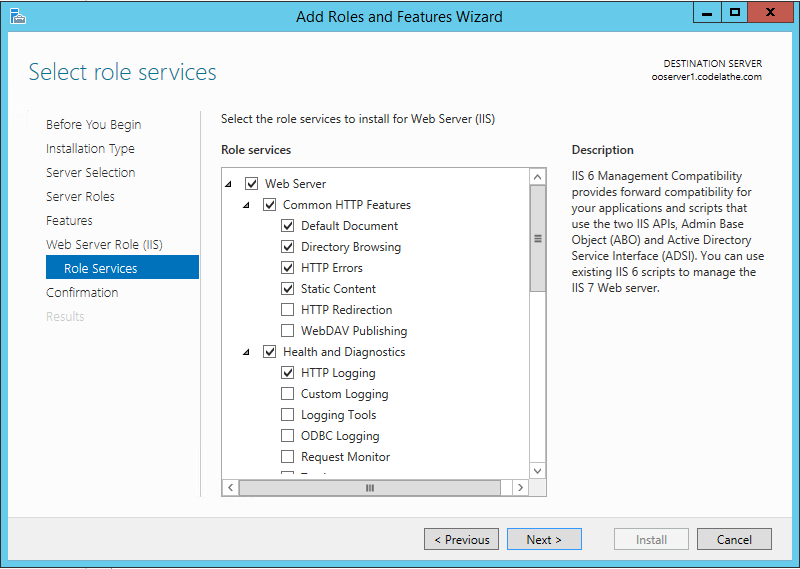
Start Add Roles, Features Wizard from Server Manager --> Manage --> Add Roles and Features. Enable IIS Web Server Role and ASP.Net Feature. Confirm the selections and install.