Setting up FileCloud Managed S3 Storage
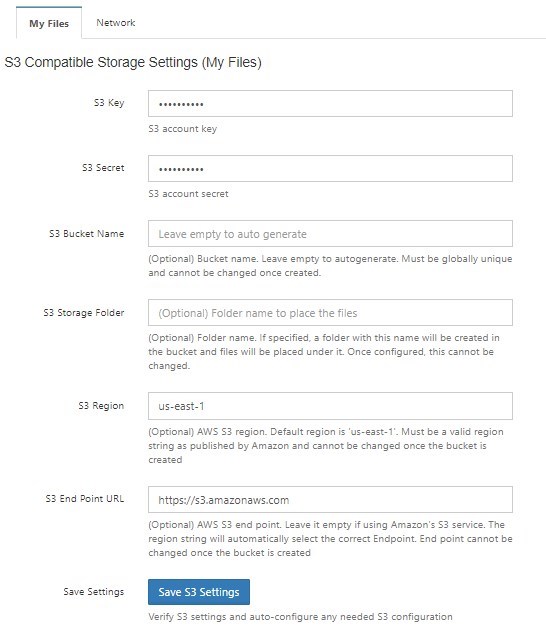
As an administrator, you can integrate FileCloud Server to store user data on an Amazon S3 storage server.
|
|---|
Getting Started with Amazon Simple Storage Service
WARNINGS:
- Only change the FileCloud storage type to S3 for new installations.
- Do not change the FileCloud storage type to S3 if FileCloud has been in use and data is already stored.
- Be very careful when changing the storage path, If done improperly it could lead to data loss.
- When changing the storage type from local to Amazon S3, the files and folders that have already been saved to local storage will not automatically be moved to S3 storage.
- For existing files and folders, the administrator must manually export them from local storage before changing the storage type.
- After changing the storage type to S3, the administrator must manually import pre-existing files and folders.
- If the S3 Bucket Name, S3 Secret or S3 Key is changed after initial S3 configuration then please restart Cron and fcorchestrator (message queue) service.
- The S3 Bucket should NEVER be modified outside of FileCloud subsystem.
- Do not add/edit/modify files directly using S3 tools. Doing so will destabilize your FileCloud installation.
Integrate Amazon S3 Storage
Upload large files on an Amazon S3 storage server
The maximum number of parts per upload accepted by AWS is 1000; to successfully upload files and images in excess of 500 GB, set up an appropriate chunk size. You may set the size as high as 5000 MB.
To set a custom chunk size:
- Open the file amazons3storageconfig.php located in:
Windows: c:\xampp\htdocs\config\
Linux: /var/www/html/config/ Uncomment the following line, and set the value to the necessary chunk size in MB, up to 5000.
define("TONIDOCLOUD_S3_MULTIPART_CHUNKSIZE_IN_MB", 5);


