Page History
The wiki in an AirSend channel is an easy to access place where you and the other members of the channel can enter notes about the topic or project the channel is based on.important information, such as frequently accessed data, updates, or advertising information.
Some ways to optimize the wiki area are:
- When each channel represents a single client, post client name and address information for easy access
- For schedule-based projects, display key dates or a calendar with deadlines
- For public channels, enter posting instructions or display a post of the week
- Include your logo, services, and contact information. This is especially useful if you are creating a channel template to use with multiple customers.
| Info |
|---|
In the wiki, new content appears on top of the previous content without any formatting separating them. If you want to separate content or add other simple formatting, see Formatting wiki content. |
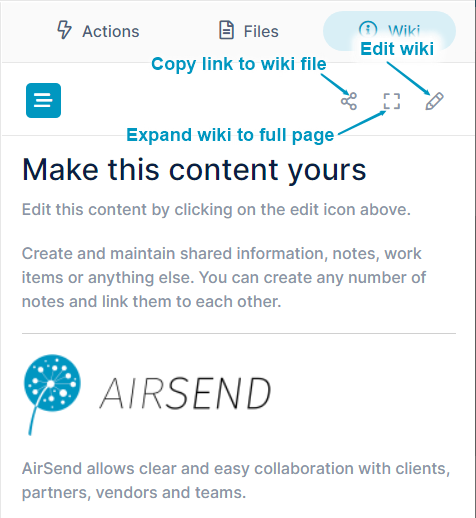
To access the wiki after you open a channel, click the Wiki tab in the right panel. Before anything is added to the wiki, it appears as:
Channel members with contributor access or higher can add content to wikis in non-public channels; channel members with full contributor access or higher can add content to wikis in public channels.
To add text to the wiki:Any member of the channel can add content to the wiki.
- In the upper-right corner of the wiki, click the edit (pencil) icon.
An Edit Wiki page opens. It contains a panel displaying files in the channel, a panel for adding the wiki entry, and a panel for previewing the wiki entry :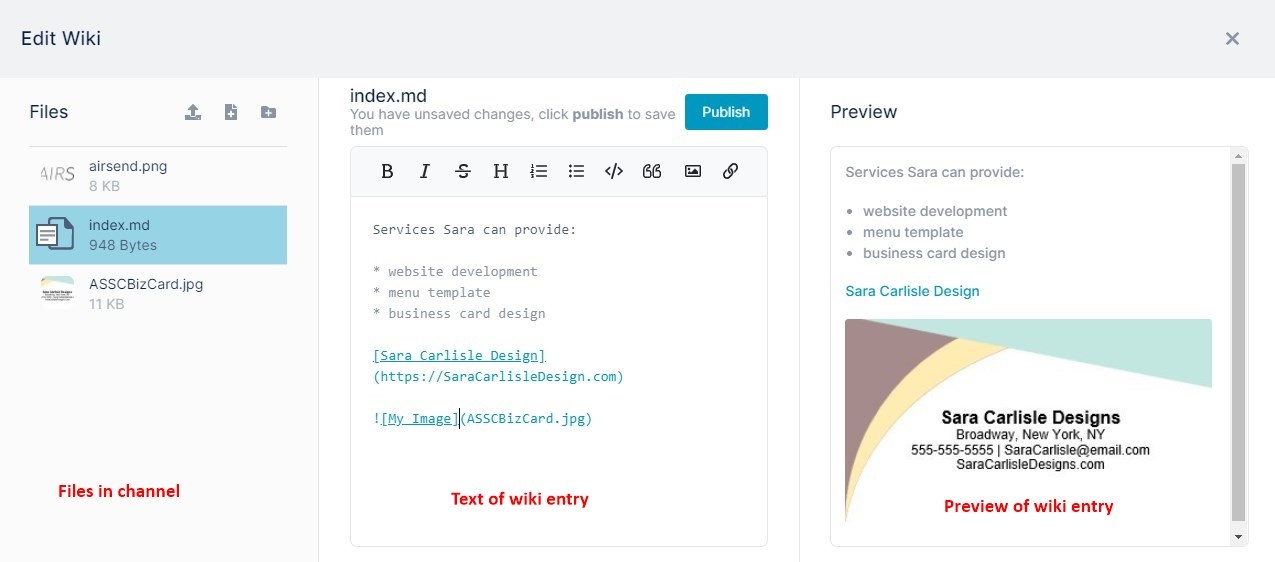 (see the image below).
 - Enter text into the text editor in the center panel. A preview of the text appears in the right panel.
- To add a link to the text, click the link icon in the toolbar in the center panel.
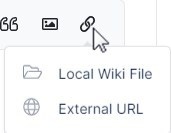
- If you choose External URL, a link placeholder appears.

- Overwrite the format with the text for your link and the link address as shown in the image above.
- Click Local Wiki File, to open a dialog box that enables you to link to a file from the left panel.
- Select a file.
A link placeholder appears. Change the text for the link. The correct link address is inserted for you.
Note: If you choose an image using Local Wiki File, a link to the image, not the image itself, is inserted. - To insert an image in the wiki entry, click the image icon in the toolbar of the center panel.
If the image that you want to insert does not appear in the left panel (that is, it has not been added to the channel) you can upload or create it now. See Adding an image during wiki editing. - Choose a file and click Pick file.
You do not have to edit the link. The right panel displays the image. - In the center panel, click Publish.
The entryIn the center panel, click Publish, and then close the wiki editor.
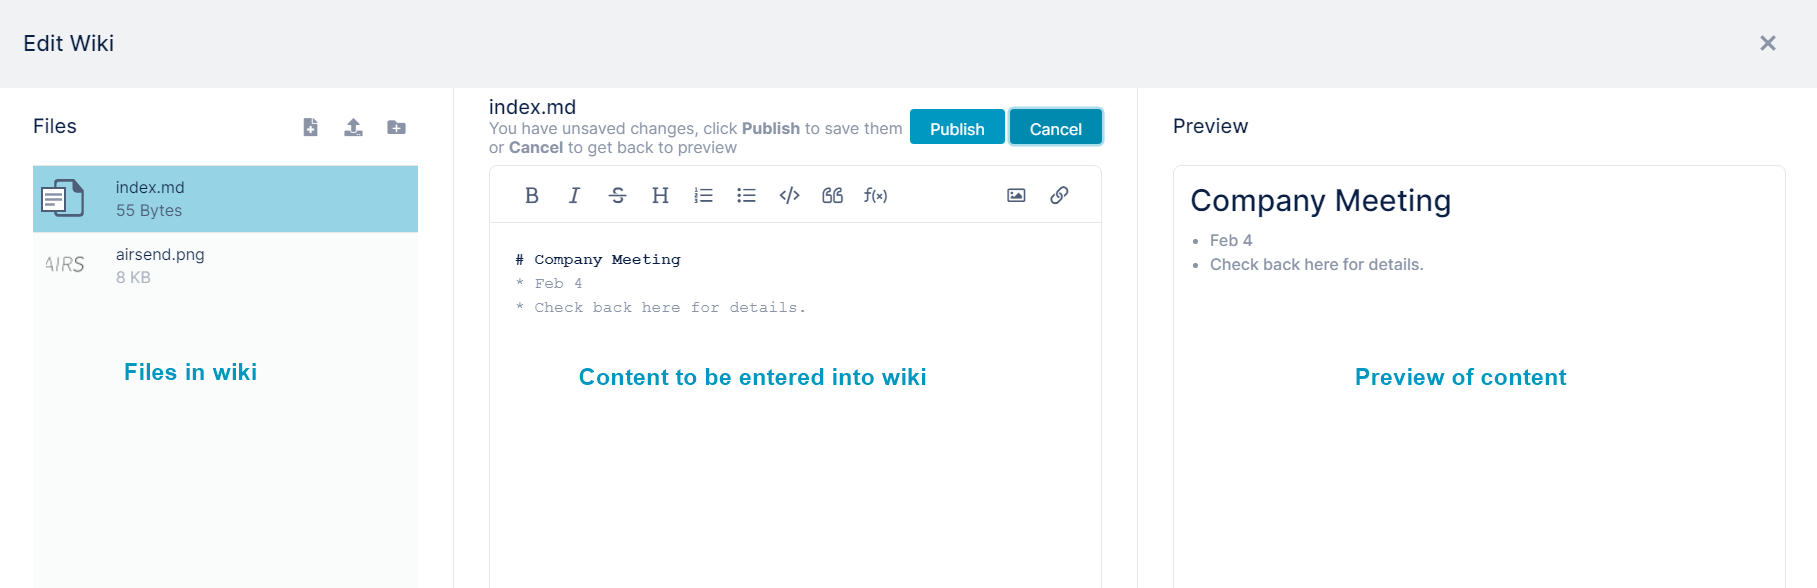
The content appears in the wiki: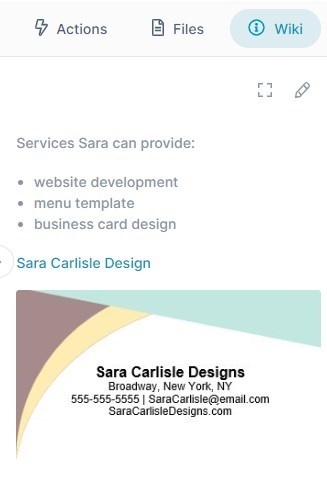

Also see:Children Display
Overview
Content Tools
Apps